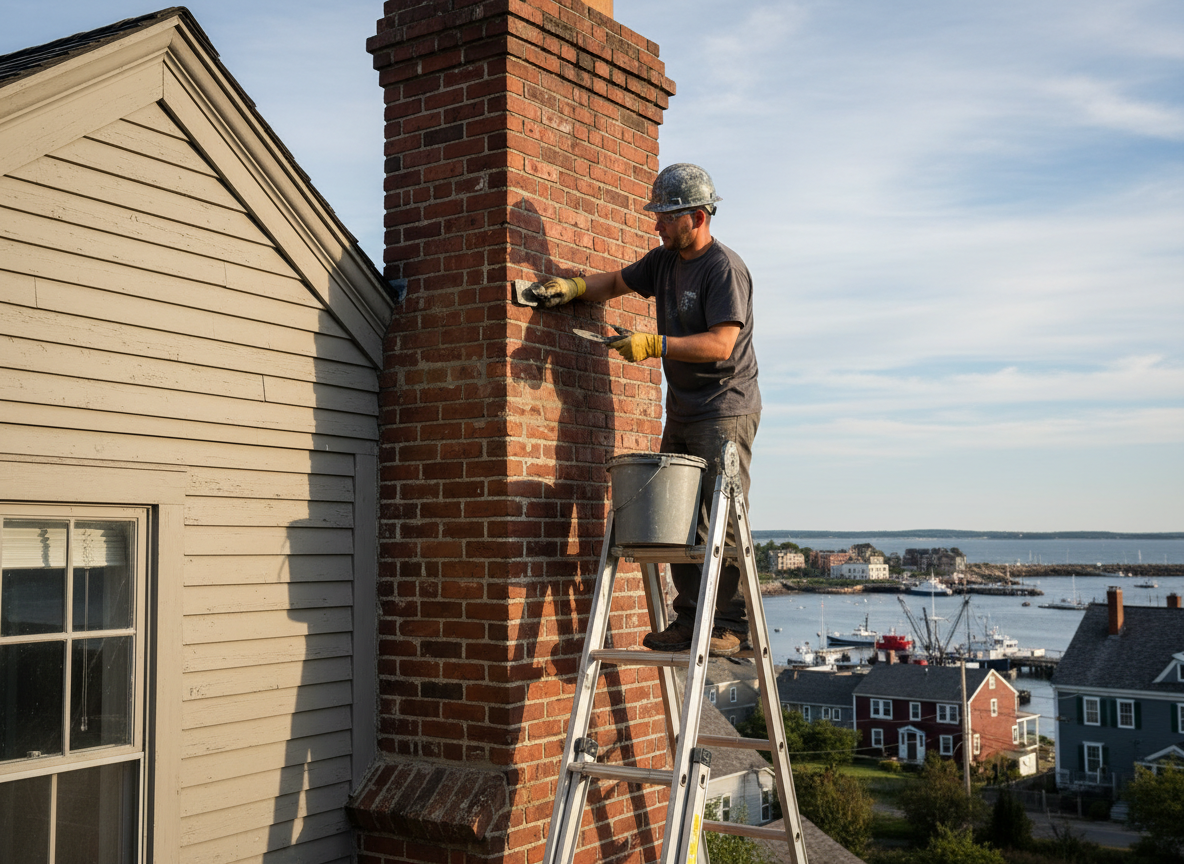
Chimney mortar in Gloucester City homes takes a beating from repeated freeze-thaw cycles along the Delaware River. Older brick chimneys, common in neighborhoods around Cumberland Street and the historic district, often show cracked or eroded joints where water enters and expands during winter. Proper repair starts with removing loose material to sound mortar, then packing fresh type-N or type-O mortar matched to the original color and texture so the stack weathers evenly.
Edge cases appear when flashing has failed or the crown has settled. In these situations we chase cracks back into the flue liner area and install new through-wall flashing before repointing. Homeowners sometimes attempt DIY with the wrong mortar mix, which traps moisture and accelerates spalling on the soft historic brick found throughout Gloucester.
We always check for code compliance on height and clearance when we reach the roof. Gloucester Township and city inspectors expect proper termination heights above the ridge, and we document the work so the homeowner has records for insurance or future sale.
Common Causes of Mortar Failure
Freeze-thaw action, wind-driven rain from the river, and age-related settling of the chimney stack are the main drivers we see on calls in Gloucester.
Technician insight
In Gloucester, the thing that catches most people out with chimney mortar repair is how the older row-house chimneys along the river side lose mortar on the north face first because they never get direct sun to dry out after a storm.
North-side joint failure on a two-story brick home
Homeowner noticed white staining on the interior brick near the fireplace after heavy rain. We found eroded mortar on the north elevation where wind off the Delaware hits hardest. After cutting out and repointing the joints and resealing the crown, the staining stopped and the stack has remained dry through the following winter.
How it works
- 1
Inspection and Diagnosis
We climb the roof and examine every joint from crown to flashing, noting water intrusion points and any flue liner issues.
- 2
Preparation
Loose and deteriorated mortar is cut out to a minimum depth of three-quarters inch without damaging the brick edges.
- 3
Repointing
Fresh mortar is packed in layers, tooled to match the existing profile, and kept damp for proper curing over the following days.
- 4
Final Check
We verify the crown, flashing, and cap are watertight and test for draft before leaving the job.
Pricing
Cost depends on chimney height, number of sides requiring work, and whether crown or flashing repairs are needed at the same time.